前端监控
前端监控笔记:Sentry 监控原理、私有化部署、项目接入实践,以及腾讯云前端性能监控。
腾讯云-前端性能监控
https://cloud.tencent.com/product/rum
每应用每天可拥有 50W的免费上报额度,很香
但是现阶段不支持 CI/CD,暂不考虑
sentry / 监控原理
前端
window.onerror劫持
每当代码在runtime时发生错误时,JavaScript引擎就会抛出一个Error对象,并触发window.onerror函数。并且Sentry对window.onerror函数进行了改写,在这里实现了错误监控的逻辑,添加了很多运行时信息帮助进行错误定位,对错误处理进行跨浏览器的兼容等等。
监听unhandledrejection事件
当我们使用Promise时,如果发生错误而我们没有去catch的话,window.onerror是不能监控到这个错误的。此时会触发unhandledrejection事件,只要我们监听这个事件,那么就能够监控到Promise产生的错误。
监听vue ErrorHandler方法
对于 Vue.js 的错误详细上报可以用vue官方提供的 Vue.config.errorhandler 方法,更清晰的获取vue中的运行报错信息以及获取报错场景的上下文参数和props,使得错误信息更加详尽。
基于react React Error Boundary
对于 react.js 的错误详细上报可以使用react官方提供的Error Boundaries的概念,基于componentDidCatch生命周期获取报错详细的上下文场景。
sentry / 私有化部署
感兴趣可以先体验官网 sass 体验版,体验之后在决定是否私有化,免费服务存在上限。
前言
Sentry支持私有化部署,可以使用docker-compose、K8S的方式部署在自己的服务器上。- 为了快速上手,直接采用官方提供
docker-compose命令一键进行部署。具体请查看 getsentry/onpremise - 为了保证服务的高可用,当访问量激增的时候不至于被流量压垮,建议使用 K8S 集群化的部署方式。链接
安装
clone
$ git clone https://github.com/getsentry/onpremise.git
$ cd ./onpremise
$ chmod u+x ./install.sh
$ ./install.sh
# or
$ sudo ./install.sh
question
服务器配置如下,安装遇到问题
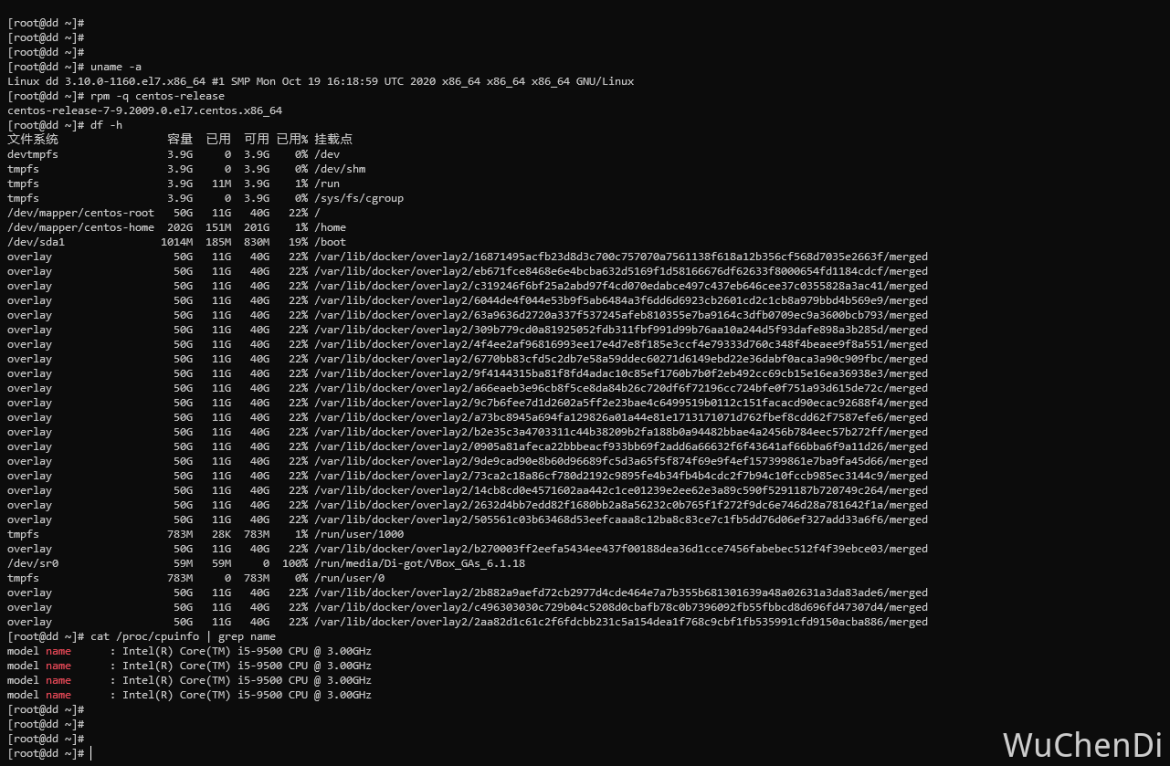
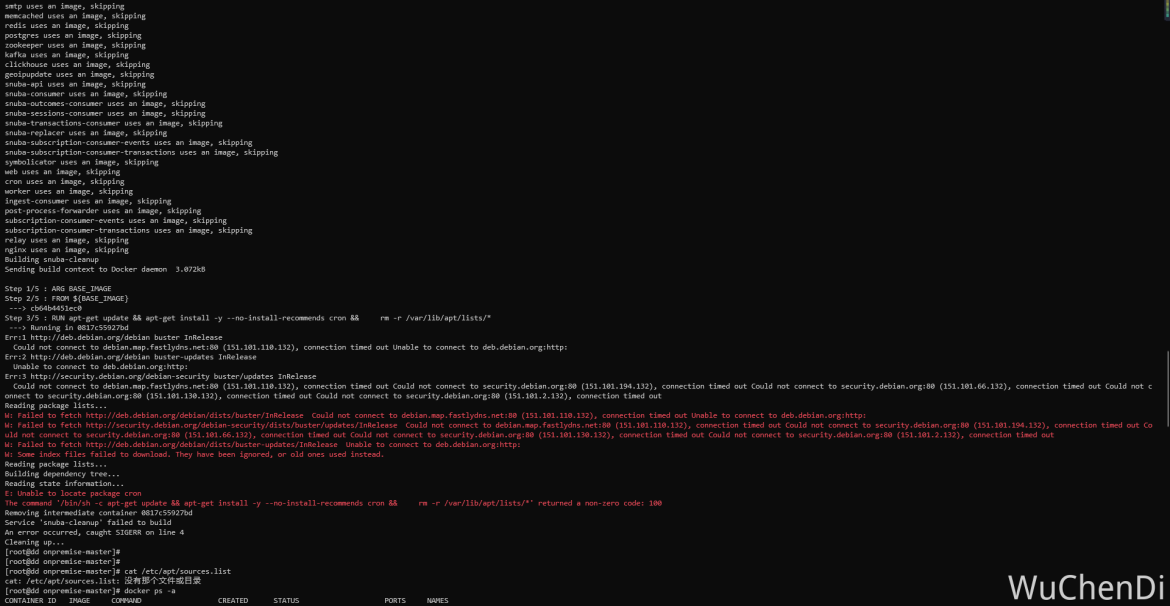
修改Dockerfile
$ vim ./cron/Dockerfile

# 修改如下
ARG BASE_IMAGE
FROM ${BASE_IMAGE}
RUN sed -i "s@http://deb.debian.org@http://mirrors.aliyun.com@g" /etc/apt/sources.list && apt-get update && apt-get install -y --no-install-recommends cron && \
    rm -r /var/lib/apt/lists/*
COPY entrypoint.sh /entrypoint.sh
ENTRYPOINT ["/entrypoint.sh"]

# 再次安装
$ sudo ./install.sh

# 创建数据库,生成管理员账号
$ docker-compose run --rm web upgrade

# 启动 Sentry 服务
$ docker-compose up -d

# 查看容器
$ docker-compose ps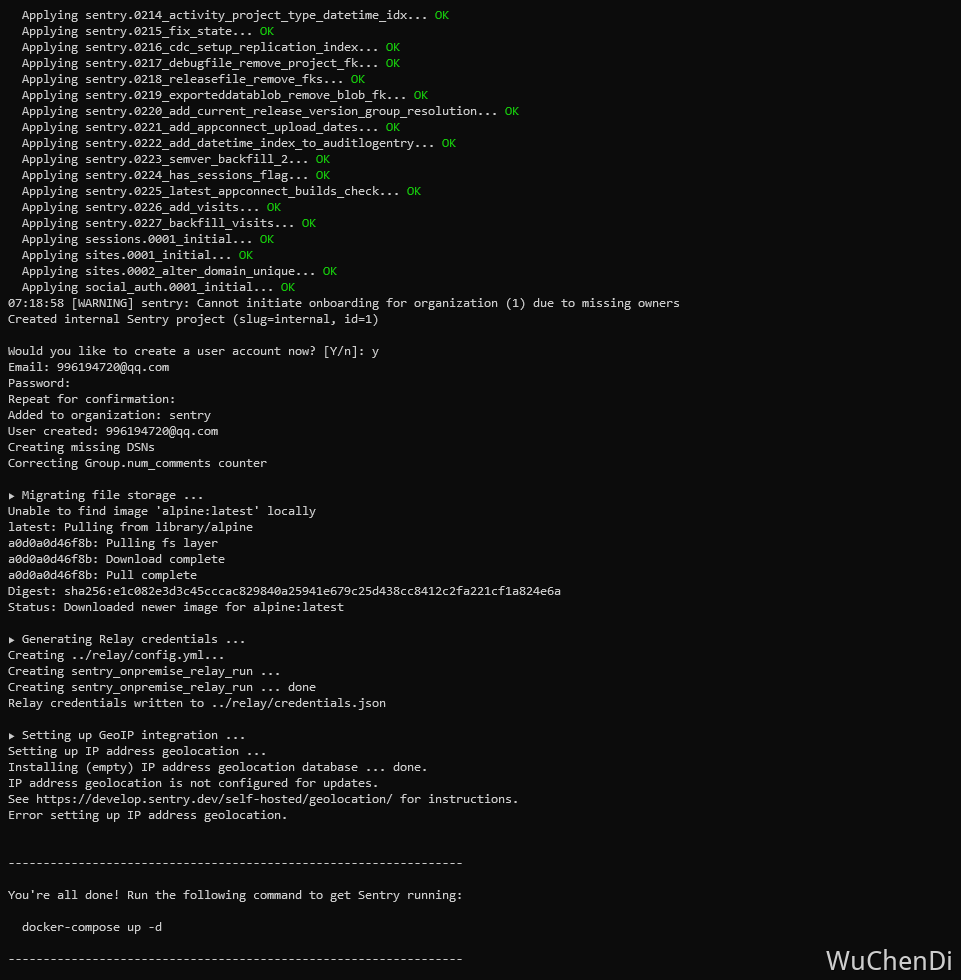
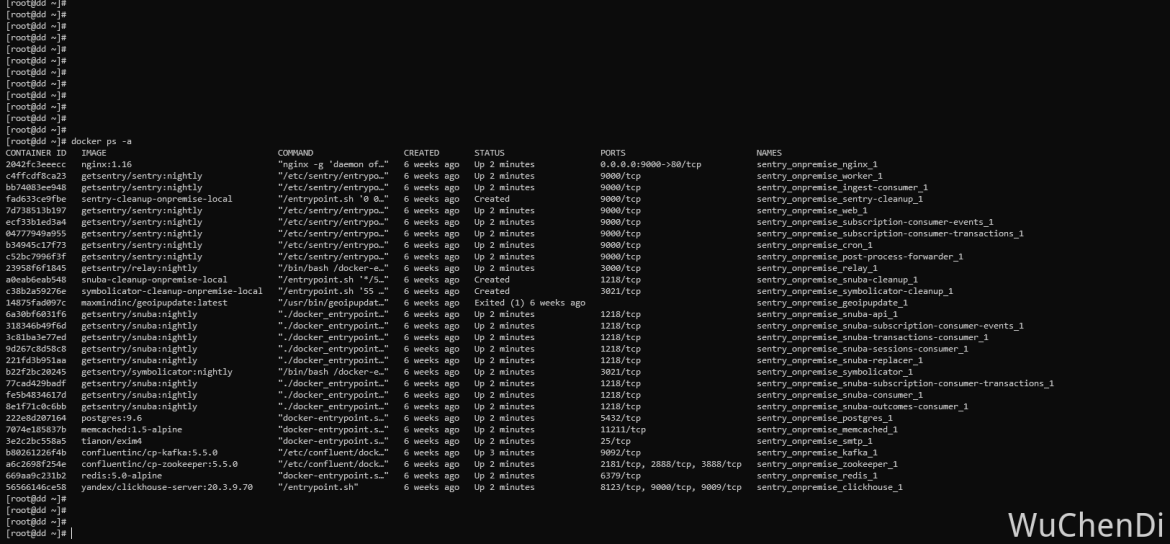
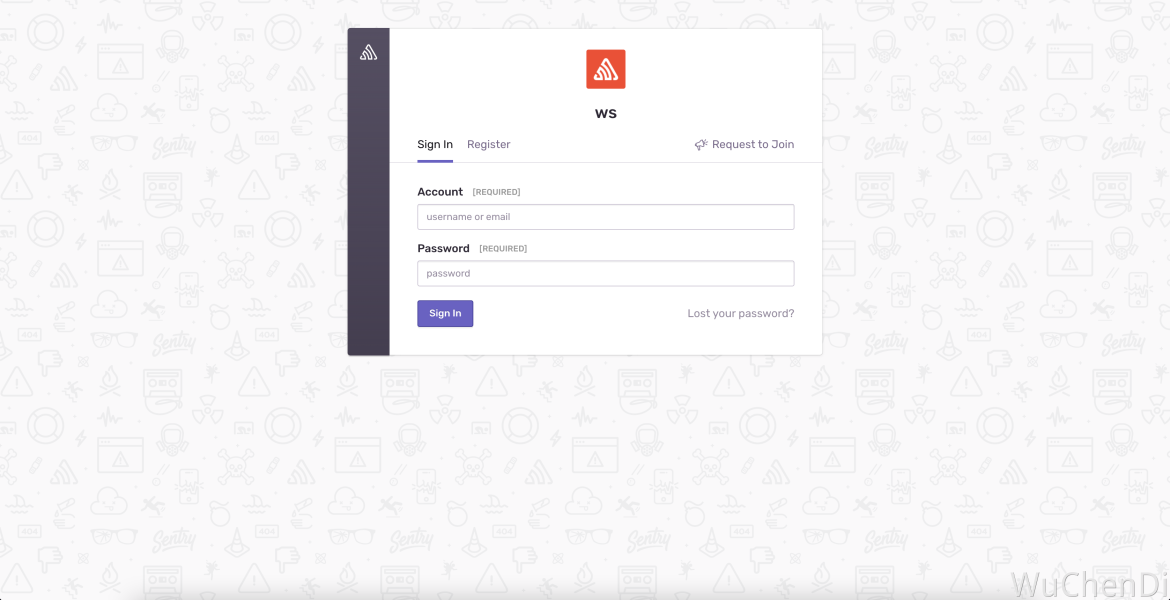
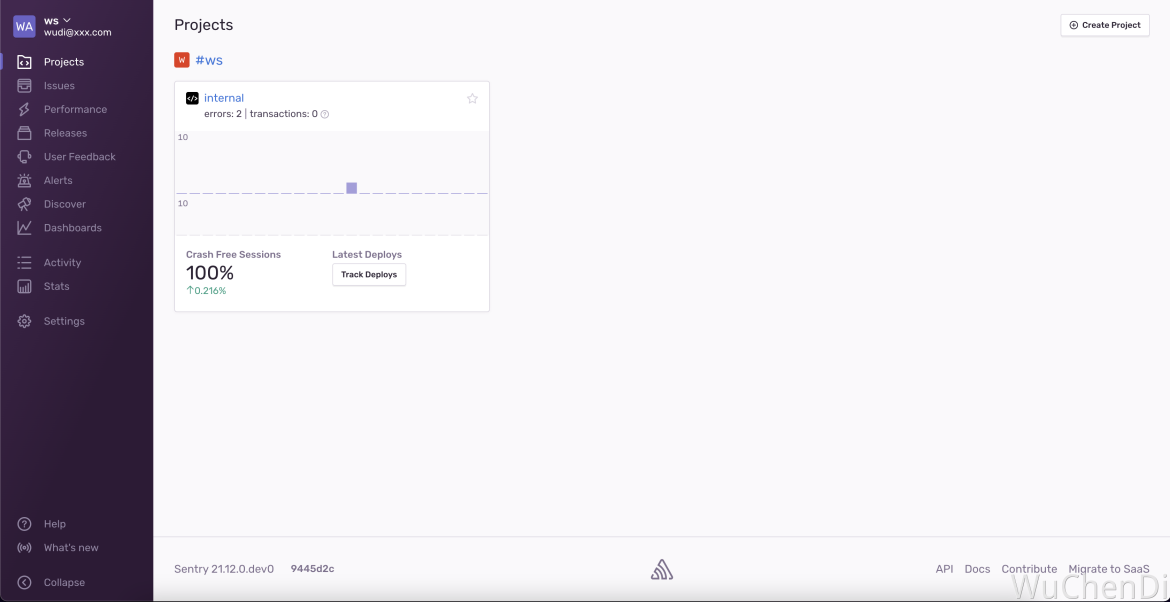
邮件接入
修改配置文件
修改 sentry/config.yml 配置文件
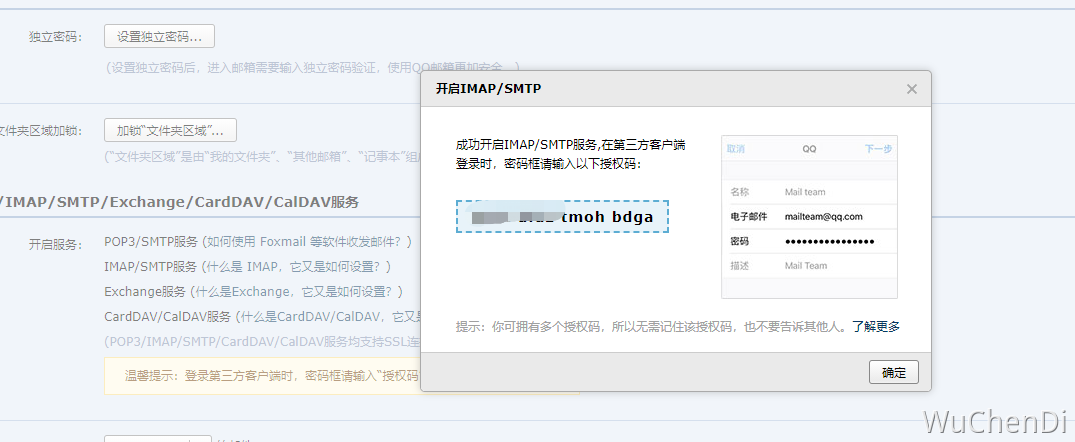
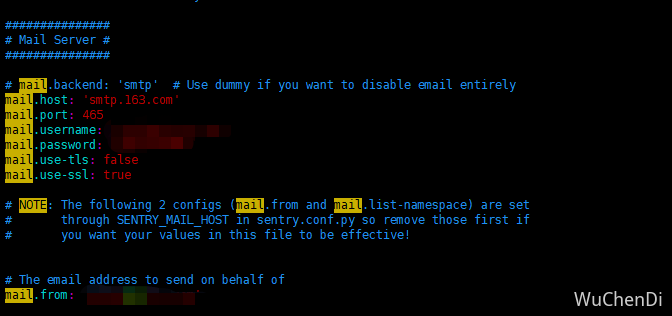 需要注意密码不是登录密码,而是smtp开启时候的密码,例如(找不到163的设置了,用qq的替代)
重启服务
# 命令应在sentry目录下执行

# 停止 sentry 相关容器
$ docker-compose down

# 重新build
$ docker-compose build

# 升级配置
$ docker-compose run --rm web upgrade

# 重新启动 sentry 相关容器(-d 是守护)
$ docker-compose up -d
可以打开 https://xxx.com/manage/status/mail/ 你们部署的地址验证
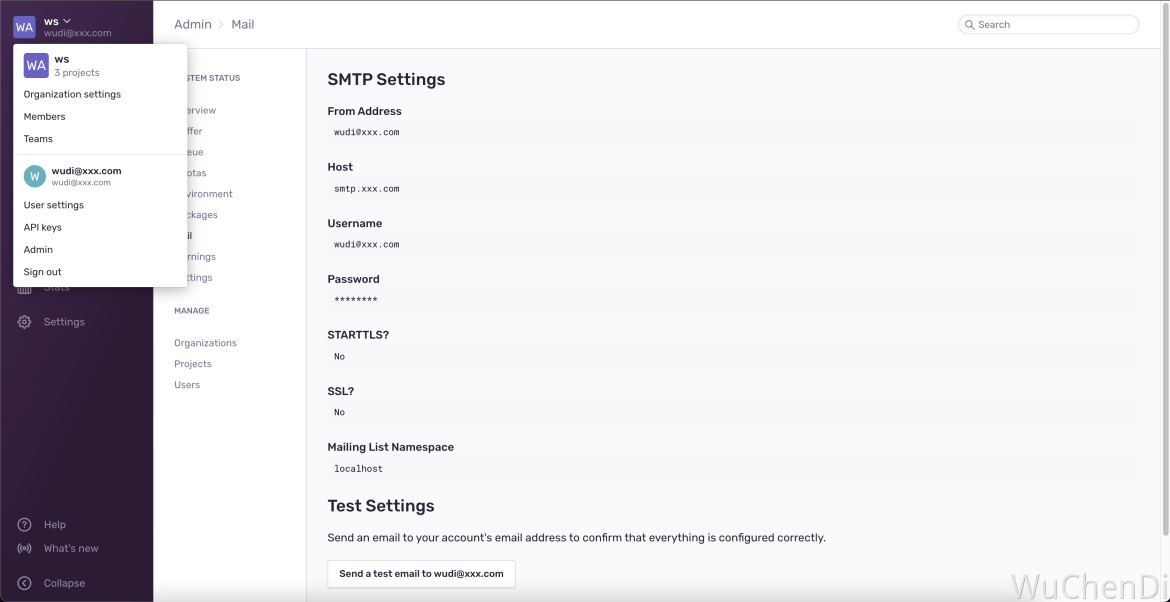
问题
测试发送邮件出现{"error":"timed out"}
检查
sentry_onpremise_worker这个容器日志,针对日志排查下问题 我遇到过是因为mail.password密码的原因,填写了邮件的密码,这里的密码指的是 **授权码 **
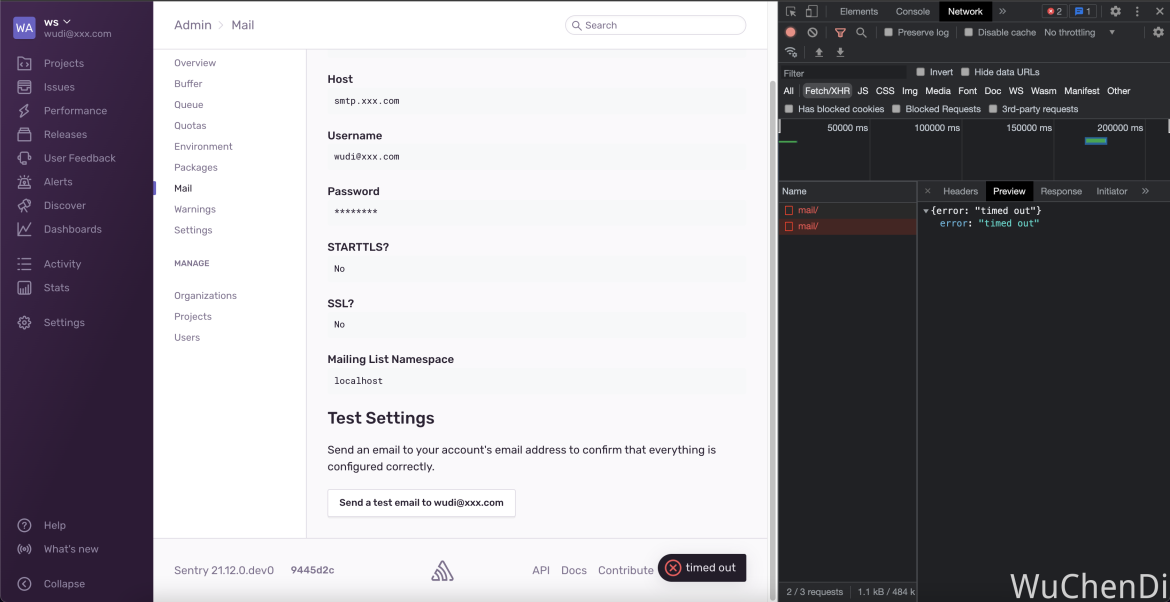
常见邮箱 SMTP 服务器地址设置
一般规则如下 比如邮箱域名为:
abc.com>SMTP:stmp.abc.com(或者是服务商的,如云邮,腾讯等)
| 企业邮箱的 SMTP | host | prod | SSL / TSL | 备注 |
|---|---|---|---|---|
| 云邮 | smtp.yunyou.top | 25 | 465 / 587 | |
| 阿里企业邮箱 | smtp.qiye.aliyun.com | 25 | 465 | |
| 腾讯企业邮箱 | smtp.exmail.qq.com | 25 | 465(587) | 官方 SMTP 端口465,但实际上端口是587才可成功 |
| 163 | smtp.163.com(smtp.qiye.163.com) | 25 | 465 |
配置文件
数据存储位置修改
如果需要将数据保留时长改为 7 天。修改 .env 文件即可:
(不推荐)或也可以直接修改
sentry.conf.example.py:SENTRY_OPTIONS["system.event-retention-days"]=7
SENTRY_EVENT_RETENTION_DAYS=7sentry术语
- Event:每次产生的日志记录,每个event有很多元信息,包括事件级别,项目信息,环境等。可通过点击具体事件对应的“JSON”数据进行查看。
- Issue:相同的地方产生的一个异常称为一个Issue(是同一类问题的聚合)。假如在同一个位置发生了两次报错,那么会产生两个Event事件,但是只有一个Issue。
- DSN:DSN是一个url,包含相关密钥信息,客户端与服务端(sentry服务器)就是通过这个DSN进行通信,上报错误信息的。
- Auth Token:授权令牌允许基于你的账户使用Sentry API,我们主要用到使用@sentry/cli进行上传sourceMap文件等操作时,sentry/cli会基于Auth Token进行调用相应API方法。
- Org:对应公司部署的sentry服务器上的组织名称。
- Release:版本号。
- Project:客户端名称。(接入sentry的具体项目名)
- Tag:标签。
sentry / 项目接入与问题记录
错误类型讲解:异常与监控
项目接入
前端
Vue
yarn add @sentry/vue @sentry/tracing更详细的请查看 官网文档
2.x
import Vue from 'vue'
import Router from 'vue-router'
import * as Sentry from '@sentry/vue'
import { Integrations } from '@sentry/tracing'

Vue.use(Router)

const router = new Router({
  // ...
})

Sentry.init({
  Vue,
  dsn: 'https://138b35a0c5584646944565b51fa8a3f3@o1064497.ingest.xxxx.io/6055444',
  integrations: [
    new Integrations.BrowserTracing({
      routingInstrumentation: Sentry.vueRouterInstrumentation(router),
      tracingOrigins: ['localhost', 'my-site-url.com', /^\//],
    }),
  ],
  // Set tracesSampleRate to 1.0 to capture 100%
  // of transactions for performance monitoring.
  // We recommend adjusting this value in production
  tracesSampleRate: 1.0,
  // 添加用户崩溃反馈弹窗
  beforeSend(event, hint) {
    // Check if it is an exception, and if so, show the report dialog
    if (event.exception) {
      Sentry.showReportDialog({ eventId: event.event_id })
    }
    return event
  },
})

// ...

new Vue({
  router,
  render: (h) => h(App),
}).$mount('#app')
3.x
// yarn add @sentry/browser @sentry/tracing

import * as Sentry from '@sentry/browser'
import { Integrations } from '@sentry/tracing'

// init
Sentry.init({
  dsn: 'https://aabfe2180673babf842912aifd3863141519d@sentry.io/3806182',
  // 统计后台接口在前端的响应时间
  integrations: [new Integrations.BrowserTracing()],
})
React
yarn add @sentry/react @sentry/tracing
umijs创建项目在app.ts中初始化sentry.init配置 更详细的请查看 官网文档
import React from 'react'
import ReactDOM from 'react-dom'
import * as Sentry from '@sentry/react'
import { Integrations } from '@sentry/tracing'
import App from './App'

Sentry.init({
  dsn: 'https://138b35a0c5584646944565b51fa8a3f3@o1064497.ingest.sentry.io/6055459',
  integrations: [new Integrations.BrowserTracing()],

  // Set tracesSampleRate to 1.0 to capture 100%
  // of transactions for performance monitoring.
  // We recommend adjusting this value in production
  tracesSampleRate: 1.0,
})

ReactDOM.render(<App />, document.getElementById('root'))

// Can also use with React Concurrent Mode
// ReactDOM.createRoot(document.getElementById('root')).render(<App />);
主动上报错误
有时候我们觉得它是个错误,但是sentry没这么认为,所以需要主动上报,这里sentry提供两个 API(captureException 与 captureMessage)
captureException:主动上报错误,这会触发系统内部钩子(webhooks) captureMessage:可以理解为埋点,不会触发系统内部钩子(webhooks),这里的 level: info
import * as Sentry from '@sentry/vue'

export type ISentry = typeof Sentry

class TrackError {
  public sentry?: ISentry

  constructor(sentry?: ISentry) {
    this.sentry = sentry
  }

  captureException(exception: any) {
    if (!this.sentry || !exception) return

    this.sentry.captureException(exception)
  }
}

export default TrackError
SourceMap
官网有三种做法如下:
- sentry 提供
webpack-plugin(链接)- 脚手架工具
sentry-cli- 直接调用
sentry API(有点麻烦,参数配置有点多)这里介绍 @sentry/webpack-plugin 方式(方便接入现有 CI/CD)
.sentryclirc
[auth]
token=42b21a34ca654530af08			授权令牌,认证凭证token(Settings/Auth Tokens)

[defaults]
url = https://sentry.io/				上报 sentry 地址
org = ws-ap 										组织名称(Organization)
project = qv-h5									项目名称
vue.config.js
const SentryCliPlugin = require('@sentry/webpack-plugin')

module.exports = {
  // 开启 source map
  productionSourceMap: true,
  configureWebpack: (config) => {
    config.plugins.push(
      new SentryCliPlugin({
        include: './dist/',
        configFile: 'sentry.properties',
        // 版本(如果没有指定,sentry会自动创建 string 类型版本号),记得跟 init 版本一致sourceMap才会生效
        release: process.env.VUE_APP_PROJECT_RELEASE,
        ignore: ['node_modules'],
        urlPrefix: `${process.env.VUE_APP_COS_URL}/`,
      })
    )
  },
}
Tips
urlPrefix可以为上传的map文件添加前缀,默认是~/,sentry需要根据js文件的sourceMappingURL来解析map文件路径,所以SourceMap级别不能用hide-source-map或者类似的。
很多人反馈错误没有定位到源码,很多就是错在这个配置(urlPrefix),这里解释下,
关于这个,是要看你项目的资源地址,比如,你前端访问页面是:http://test.com.cn/test/login,同时你的资源地址是:http://test.com.cn/test/dist/js/app.ecbb420f.js,那么,配置就应该是(urlPrefix)~/test/(注意:非ip地址test)。
怎么看资源地址呢, 例如谷歌浏览器, F12控制台, 或者去 Application 里面找到对应资源打开。例如下图
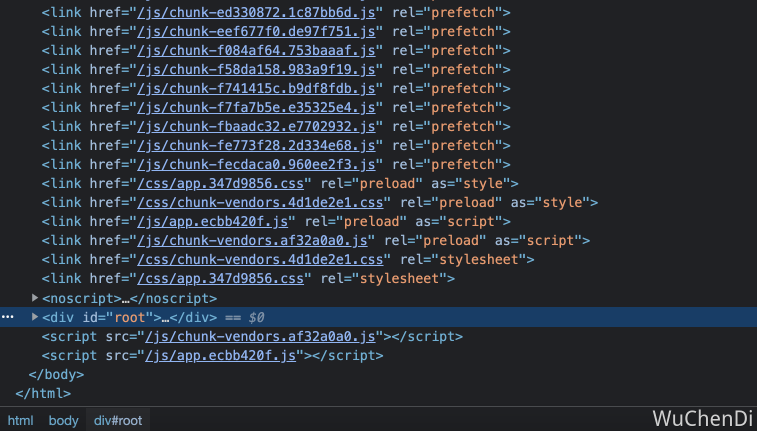
再或者, 打开你的项目看看 build 下打的 assetsPublicPath 是什么,如果是:assetsPublicPath: '/test/',那你的 urlPrefix: '~/test/' 就是这个, 如果是 '/' ,那可以不配置,采用默认('~/')的即可。